Back to basics: how to change a bike tube
Punctures are enough to leave anybody feeling flat, but as Iain Treloar demonstrates, it’s easy to get rolling again.

There are three certainties in any bike rider’s life: death, taxes and punctures. Regrettably, Ride On can’t help much with the first two. Happily, we can help with the last one. From changing tubes to preventative measures to reduce the risk of punctures happening in the first place, here’s our survival guide for one of life’s deflating scenarios.
Diagnosis
There are two primary causes for punctures—one that you can to some extent control and one you can’t.
The first is what’s known as a pinchflat and is caused by tyre pressure being too low, causing the tyre to compress when hitting a bump and pinching the tube against the rim. What this looks like is two thin slits in the tube. This gives a pinch flat its other name: a ‘snakebite’.
One way of avoiding such punctures is by ensuring you maintain correct tyre pressure. This is usually marked on the sidewall of your tyre (given in PSI). Your optimal pressure may depend on a range of different factors, including surface conditions, weather, tyre volume, your personal preferences for a harder or softer ride and your weight. Let’s just focus on the last one for now. Simple solution: if you’re at the heavier end of the spectrum, inflate the tyre closer to the upper limit, as more weight presses the rim closer to the ground, increasing the risk of a pinch-flat. If you’re a lighter rider, it’s safe to run the pressure toward the lower end of that range; if the tyre is too firm, you may find the ride is uncomfortably jarring, and lose grip as the tyre won’t conform to the ground.
As materials used in bicycle inner tubes are slightly porous, it’s normal for them to lose pressure over time. As such, it’s a good idea to get in the habit of checking your tyre pressure weekly.
The other major cause of punctures is something working its way through the tyre, pricking the tube and causing it to deflate. This can either be instantaneous, or a delayed process presenting itself some way down the track—always, it seems, at a time of great inconvenience. Keep an eye on the condition of your tyres and every so often, deflate the tyre, and go around it picking out any fragments of glass with a sharp point. To prolong the life of your tyres, a dab of superglue on larger slits will help seal the hole.
Never leave home without…
- Spare tube
- Patch kit
- Tyre levers
- Pump or CO2 canisters
My tyre is flat. What do I do?
- Remove the wheel from your bike, and let out any remaining air in the tube by depressing the valve.
- Insert one tyre lever under the bead of the tyre, and lever it over the rim. Repeat this process until one side of the tyre is sitting outside the rim [Figures 1 through 4].
- Remove the flat tube and store it away for repair.
- Run your fingers around the inside of the tyre to feel whether there’s anything sticking through the tyre casing. If you find anything, remove it. [Figure 5].
- Check the sidewalls of the tyre for any cuts or slashes.
- If you still haven’t found any obvious cause for the flat, run your finger around the inside of the rim—check that the rim strip/tape is in good condition and hasn’t exposed any spoke holes.
- Inflate the replacement tube just enough for it to hold its shape inside the tyre—this limits the risk of it sitting under the bead of the tyre and pinching on full inflation.
- Insert the valve of the tube through the valve hole and then work your way around, inserting the tube into the inside of the tyre [Figures 6 through 8].
- Slowly work the tyre around onto the rim. You should be able to do this with your thumbs most, if not all, of the way around. As soon as you use tyre levers, there’s a far greater risk of pinching the tube and taking yourself right back to square one [Figures 9 and 10].
- Once you’ve seated the tyre correctly on the rim, inflate the tube about halfway, check that there are no unsightly bulges or asymmetries, and then inflate fully. Job done!

Figure 1

Figure 2

Figure 3

Figure 4

Figure 5

Figure 6

Figure 7

Figure 8
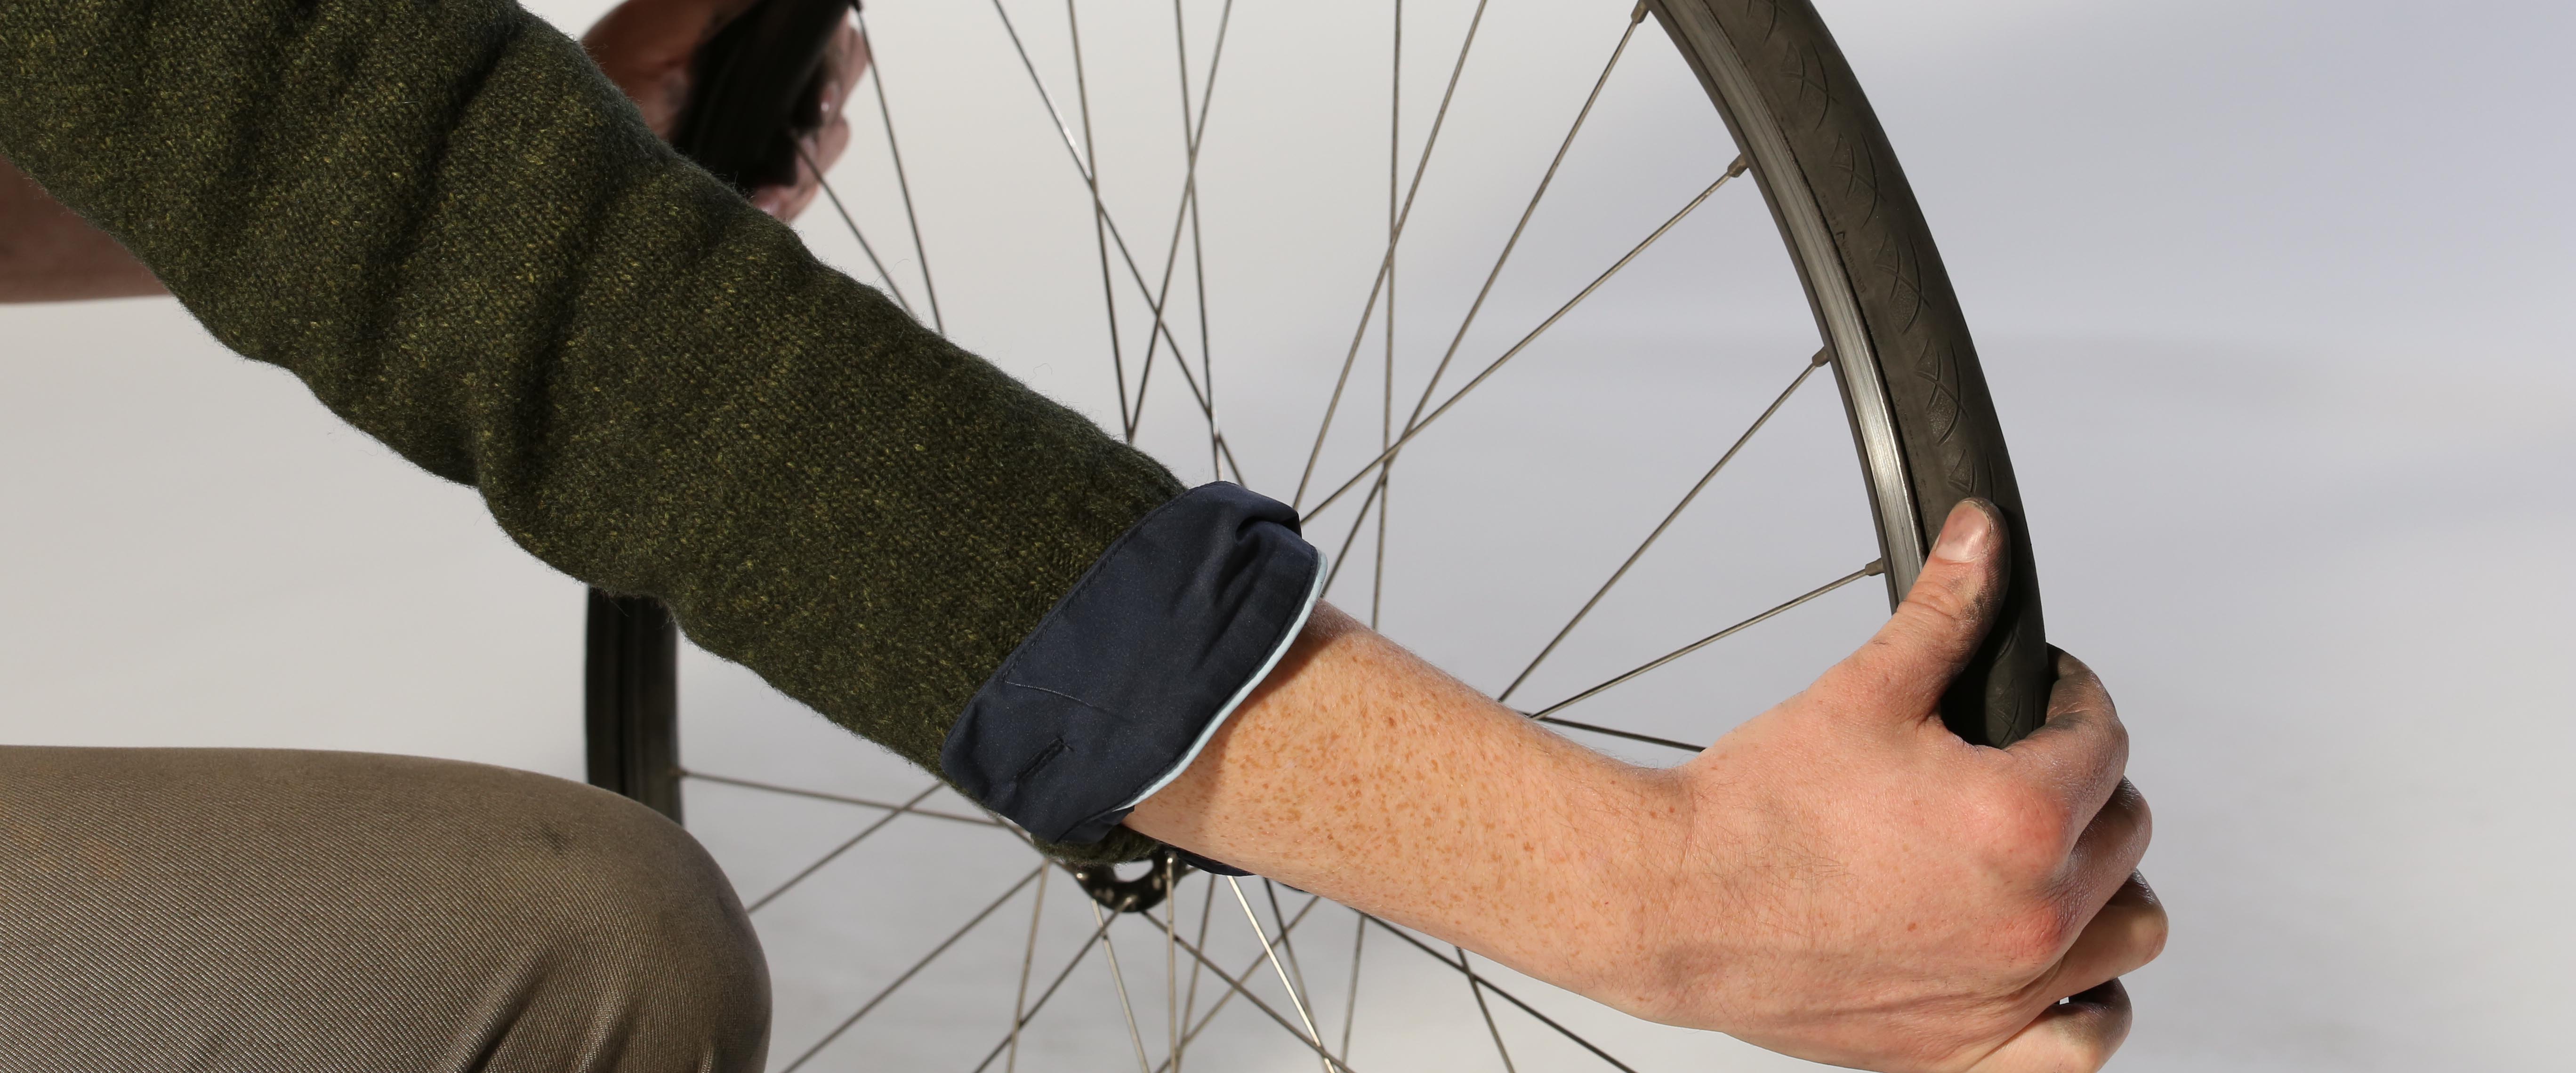
Figure 9

Figure 10
I’m out of spare tubes: how do I patch one?
- Inflate the tyre until you can hear the air hissing out. Locate the source, then mark it with a dab of saliva.
- Let any remaining air out of the tube.
- Rough up the area around the hole to help the patch stick [Figure 1]. All patch kits come with a square of sandpaper or a course metal tab for this purpose.
- If your patches are self-adhesive, remove the backing and firmly press down. Hold for a couple of minutes to be on the safe side.
- If your patches are glue-on, apply a generous film of rubber cement around the hole. The glued area should be larger than the size of the patch so that it doesn’t peel off [Figure 2]
- Leave the glue to sit until it’s tacky, rather than wet. Then peel off the foil back of the patch and place over the hole. Press and hold for several minutes [Figures 3 and 4].
- The plastic sheet covering the patch is technically supposed to be removed. In reality, don’t bother. peeling it off risks lifting the edge of the patch and compromising the deal.
- Install tube and inflate.

Figure 1

Figure 2

Figure 3

Figure 4
Handy hints
- Realign any logo or branding on the tyre with the valve hole. Not only does it look neater, but will also help you locate what caused the puncture, as when you locate the hole in the tube you have an instant reference point tracing back from the valve for where the tyre was pierced.
- Use plastic, not metal tyre levers (and definitely not spoons). Most rims are made from comparatively soft aluminium these days, and metal levers can damage these. Tyre levers cost between $5 and $10 a set.
- If you don’t wish to repair your tube, at the very least put it in a bin rather than dumping it on the side of the road.
- If you have a handpump that clamps onto the valve, brace the valve and pump head with one hand when inflating. If you’re pumping away without doing so, there’s a high likelihood that you’ll break the valve or tear it from the rubber at its base. Neither of these two outcomes is repairable. If you’re in the market for a new mini-pump, Ride On recommends models that have a hose that threads onto the valve, meaning you won’t have to brace the valve and freeing up a hand for on the pump instead. Happily, this style is becoming increasingly popular, with Lezyne, BBB, Giant and Airace all making variants.
Ride On content is editorially independent, but is supported financially by members of Bicycle Network Victoria. If you enjoy our articles and want to support the future publication of high-quality content, please consider helping out by becoming a member.


I can change a tube but my problem is always getting the wheel back on without resulting in brakes rubbing. Actually had my tube changed at a bike shop last week and they stuffed up my gears.
Hi Brigid,
Sounds like a wheel alignment issue, in both cases. Try loosening the quick release skewers and making sure that the wheel is sitting straight in the frame/fork – jiggle it from side to side until it falls back to the centre and then tighten the skewer again making sure that it doesn’t pull off to the side.
For basic brake adjustment, have a look at – https://rideons.wordpress.com/2014/04/15/brake-adjustment-the-basics-explained/
Hope this helps!
Brigid, I’ve experienced the same problem and have had success in getting the wheel back on; pulling on the brake lever to clamp the wheel; and then tighten the spindle whilst still holding the brake. Works a treat.
I find the hardest thing is removing the tube with the tyre just off one rim – the valve stem can be so tall, there isn’t enough clearance within the tyre to extract the valve out of the wheel. Is it possible to buy tubes with shorter valve stems?
Repairing the tube – if you don’t have sandpaper to rough up the rubber surface of the tube, a brick, concrete gutter or a road surface is a good substitute.
Handy Hint – Supporting the valve while you pump up the tyre is a good idea as stated – but using your shoe works better than your hand.
A simpler method of changing tubes, is to remove the tyre complete with tube.
Then replace the new or repaired tube, with a small amount of air, to give it shape, inside the tyre, before fitting the tyre to the rim. Place the valve stem into the hole in the rim, ensuring that it is pointing radially in, and then fit the tyre, one side at a time.
My brother Keith, with lots of cycle experience told me of that method, and it is so much easier than trying to feed the tube between the rim and the tyre.
Edwin.
I used to religiously line up the logo on the tyre with the valve, until I noticed that my tyres would wear out in one particular spot long before the rest of the tyre was worn out. It was due to a slight high spot on the wheel where the weld in the rim was. I ride with disks now, but bumps on rims that cause rim brakes to stick a bit more at certain spots can have the same effect – when you brake there’s more pressure on the tyre as the bumpy bit goes through the pads, and the tyre wears out faster.
So now I rotate my tyres a bit every time I take them off and my tyres last until they’re evenly worn out.